
Upgrade from Free to Pro (your settings carry over)
Upgrading from the free Advanced Age Verification Popup to Advanced Age Verification Pro takes about two minutes. Pro uses the same settings as the free plugin, so your popup keeps working the moment Pro is activated — there is nothing to export, import or set up again.
▶ Watch the 30-second video: Free to Pro upgrade
What you get with Pro
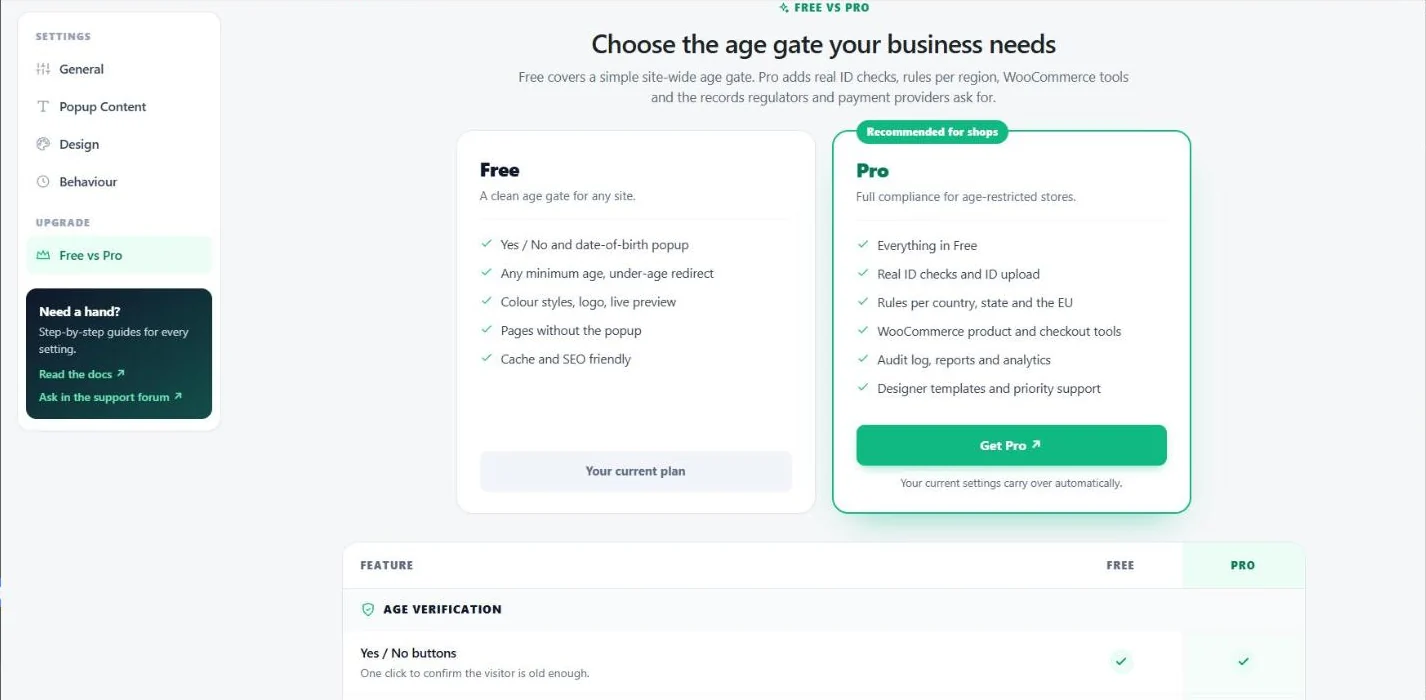
Feature | Free | Pro |
|---|---|---|
Yes / No, date of birth or both, any minimum age | ✓ | ✓ |
Setup wizard, live preview, colour styles, logo and texts | ✓ | ✓ |
Pages without the popup, verification counter | ✓ | ✓ |
Real ID checks (Stripe Identity, Veriff, AgeChecker.Net) and ID upload with a review queue | — | ✓ |
Rules per country, US state or the EU; show the gate only where it is required; block regions and VPNs | — | ✓ |
WooCommerce: product and category gating, verify on add to cart, date of birth at checkout, order hold | — | ✓ |
Gutenberg block, Elementor widget, shortcode and strict gate per page | — | ✓ |
Designer templates, layouts, fonts, backgrounds and animations | — | ✓ |
Lockout, bot protection, audit log, CSV / PDF reports, analytics, GA4 / Meta events | — | ✓ |
Webhooks, REST API, team access, priority email support | — | ✓ |
You can see the same comparison inside WordPress under Age Verification → Free vs Pro.
Before you start
Make sure the free plugin is updated to version 1.3.0 or later.
As with any plugin change on a live store, a quick backup is a good idea.
Keep your free plugin active while you install Pro — Pro switches it off for you.
Step 1: Get Pro
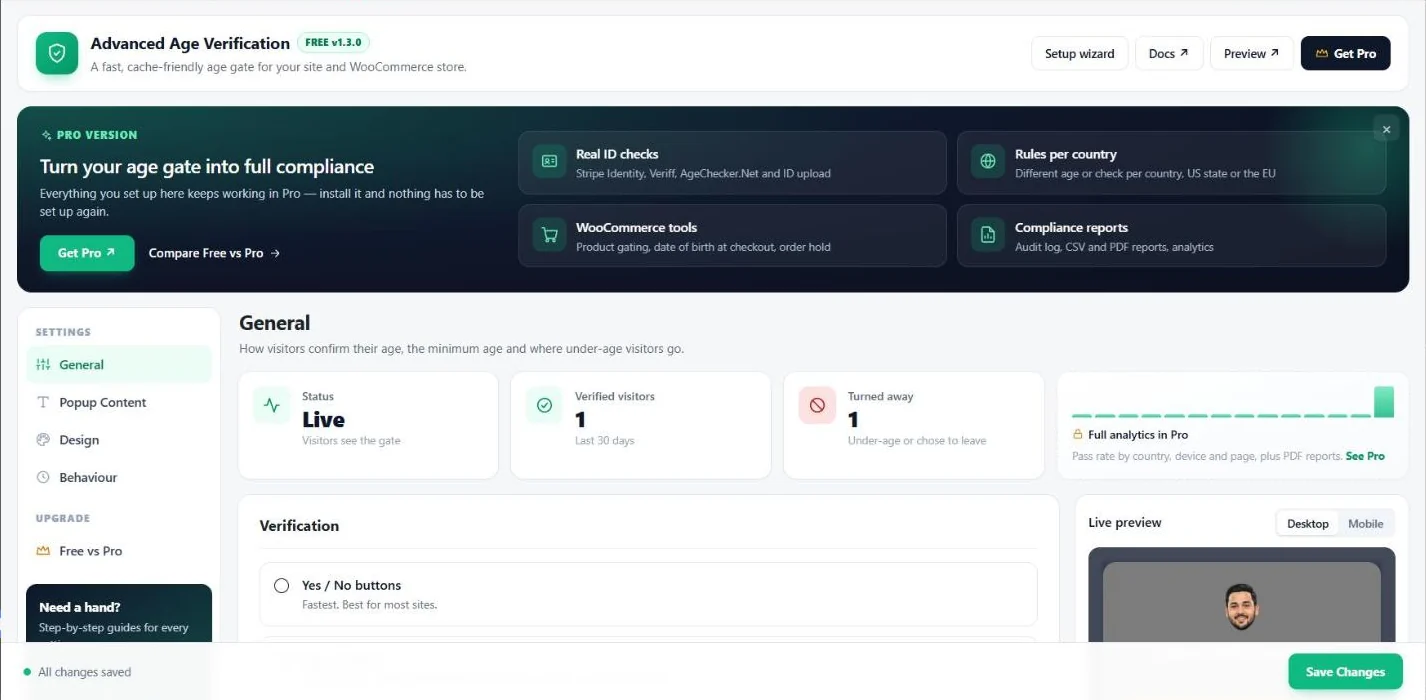
Open Advanced Age Verification Pro and complete your purchase. You receive your license key by email, and you can download the plugin zip file (advanced-age-verification-pro.zip) from your yeasinwp.com dashboard at any time.
Step 2: Upload the Pro plugin
In WordPress go to Plugins → Add Plugin and click Upload Plugin.
Choose
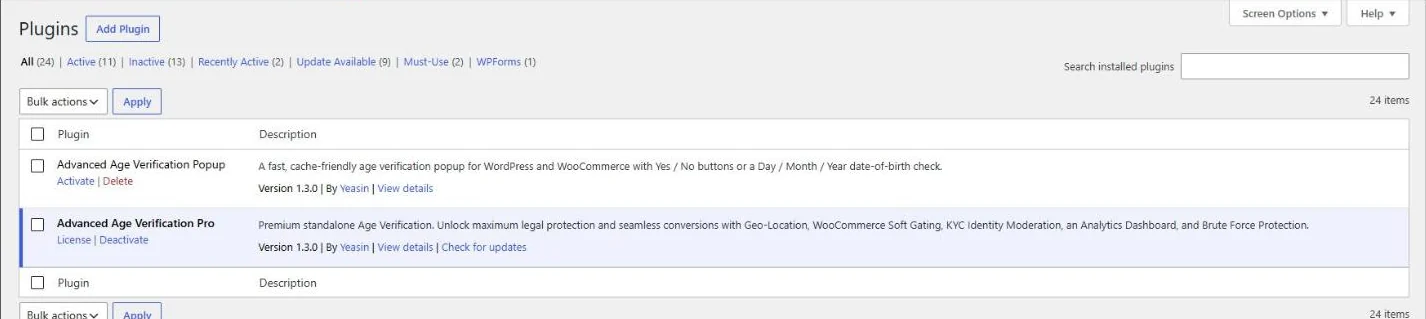
advanced-age-verification-pro.zipand click Install Now.Click Activate Plugin.
When Pro is activated it automatically deactivates the free plugin, so the two never run at the same time.
Step 3: Enter your license key
Pro opens its License screen. Paste the license key from your email and click Activate. The license enables automatic updates and the Pro-only services.
Step 4: Check your settings
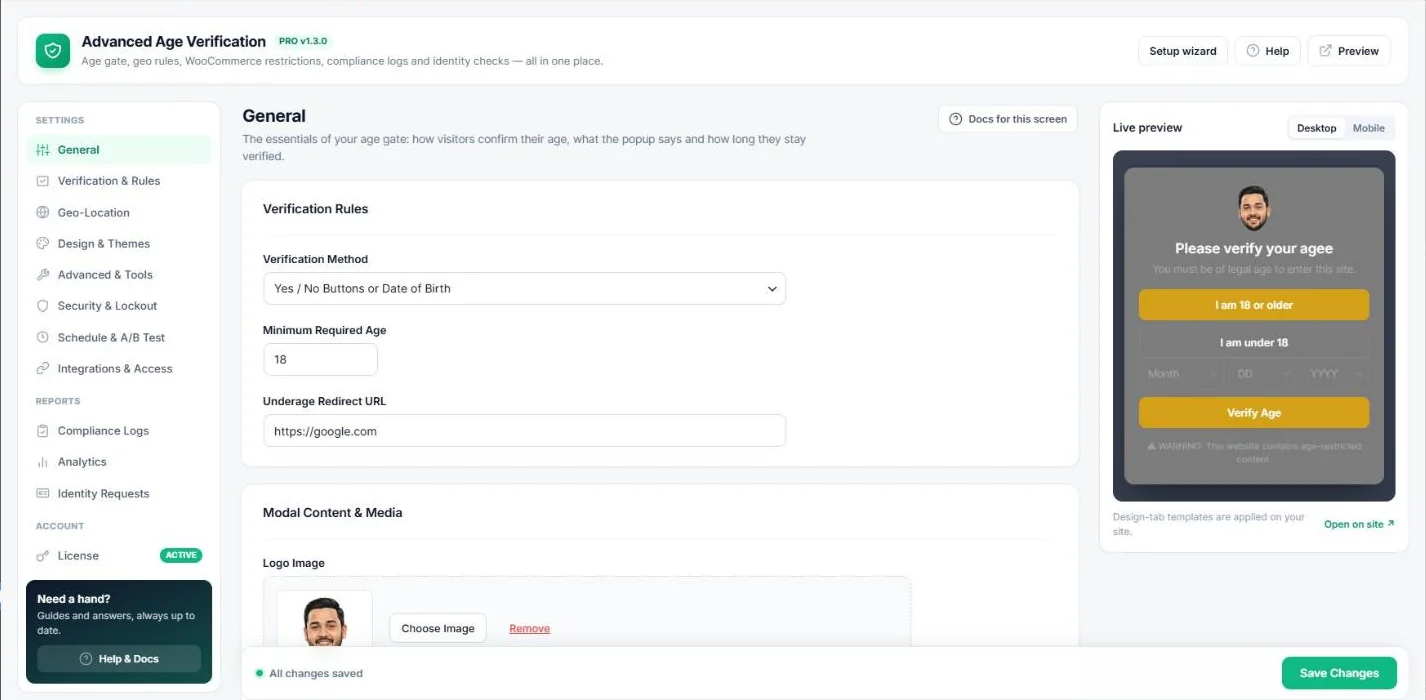
Open Age Verification → General. Everything you set up in the free plugin is already there:
Verification method (Yes / No, date of birth or both) and minimum age
Under-age redirect page or address
Logo, title, subtitle, button labels and warning line
Colour style and your own colours
Cookie duration, “Remember me”, logged-in and search engine bypass, test mode
Pages without the popup (shown in Pro as “Never show the age gate on this page”)
Step 5: Clear your page cache
If you use WP Rocket, LiteSpeed Cache, Cloudflare or server caching, clear the cache once so visitors get the Pro popup.
Step 6: Remove the free plugin (optional)
You can now delete Advanced Age Verification Popup under Plugins. Because Pro is installed, deleting the free plugin keeps all shared settings.
What to set up next in Pro
Verification & Rules — add ID checks or a different rule per country.
Geo-Location — show the gate only where your products are restricted.
WooCommerce — gate products or categories and ask for the date of birth at checkout.
Design & Themes — try a designer template that matches your store.
Troubleshooting
I see the old popup after upgrading
Clear your page cache and your browser cache. If you were already verified, open the site in a private window to see the popup again.
My settings look empty in Pro
Make sure the free plugin was version 1.3.0 or later and that you activated Pro on the same site. Settings are stored in your WordPress database, not in the plugin files, so they are never lost when you switch. If something still looks wrong, contact support.
Can I go back to the free plugin?
Yes. Deactivate Pro and activate the free plugin; your basic settings keep working. Pro-only options are kept in the database for when you reactivate Pro.
Do I need to keep the free plugin installed?
No. Pro is a complete, standalone plugin.
Was this guide helpful?